Pillow Image图片的打开与储存
要打开图像文件,需要使用 Image 模块的 open() 函数。其语法格式如下:
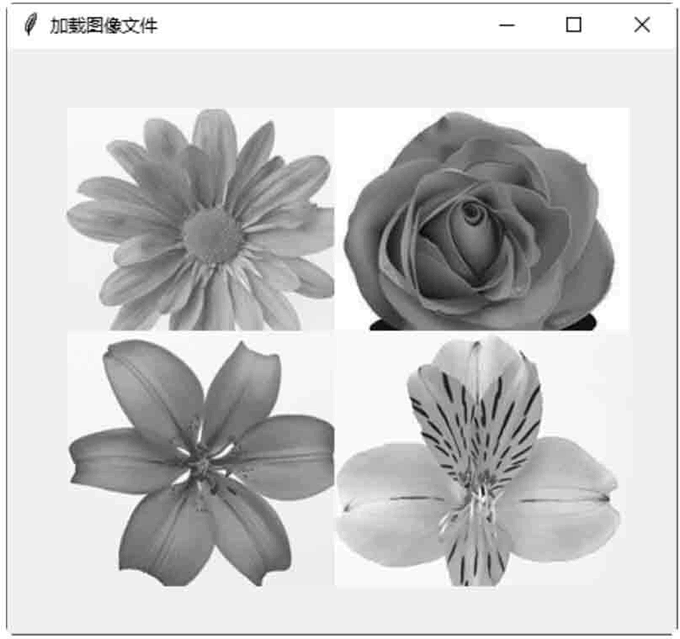
图1:程序运行结果
下面的示例将 14.1.gif 文件另存为 14.4.bmp 文件。
open(infile [, mode])
参数含义如下所示:- infile 是要打开图像文件的路径。
- mode 是文件打开的模式,与一般文件的模式相同。
1. open()方法打开图像文件
下面加载一张图片:
>>>from PIL import Image
>>>img= Image.open("D:\\python\\ch14\\14.1.jpg")
加载成功后,将返回一个 Image 对象,可以通过示例属性查看文件内容:
>>>print(img.format, img.size, img.mode)
JPEG (198, 181) RGB
只要有了 Image 类的实例,用户就可以通过类的方法处理图像。例如,下面的方法可以显示图像:
>>>img.show()
当用户使用 Image 模块的 open() 函数打开一个图像文件后,如果想要使用 tkinter 控件来显示该图像,就必须先使用 ImageTk 模块的 PhotoImage 类加载打开的图像。代码如下:
from PIL import Image, ImageTk
imgFile = Image.open("D:\\python\\ch14\\14.1.jpg")
img = ImageTk.PhotoImage(imgFile)
 canvas = Canvas(win, width=400, height=360)
 canvas.create_image(40, 40, image=img, anchor=NW)
 canvas.pack(fill=BOTH)
下面的示例使用 Pillow 模块加载 4 个图像文件,即 demo.gif、demo.jpg、demo.bmp、demo.tif,并使用 Canvas 控件显示这 4 个图像。
#使用Pillow模块加载图像文件
from tkinter import *
from PIL import Image, ImageTk
#创建主窗口
win = Tk()
win. title(string = "加载图像文件")
path = "D: \\python\\ch14\\"
imgFile1 = Image.open(path + "14.1.gif")
imgFile2 = Image. open(path + "14.1 .jpg")
imgFile3 = Image. open(path + "14.1 .bmp")
imgFile4 = Image.open(path + "14.1.tif")
img1 = ImageTk. PhotoImage (imgFile1)
img2 = ImageTk. PhotoImage (imgFile2)
img3 = ImageTk. PhotoImage (imgFile3)
img4 = ImageTk. PhotoImage (imgFile4)
canvas = Canvas (win, width=400, height=360)
canvas.create_image (40,40, image=img1, anchor=NW)
canvas. create_image (220,40, image= img2,anchor=NW)
canvas.create_image(40,190,image= img3,anchor=NW)
canvas.create_image (220,190, image= img4, anchor=NW)
canvas.pack (fill=BOTH)
#开始程序循环
win.mainloop()
保存并运行程序,结果如图 1 所示。
图1:程序运行结果
2. save()方法储存图像文件
可以使用 save() 方法存储图像文件。其语法格式如下:save(outfile [, options])
Pillow 的 open() 函数用文件内容来识别文件格式。save() 方法使用扩展名来识别文件格式,options 参数为文件格式的名称。下面的示例将 14.1.gif 文件另存为 14.4.bmp 文件。
from PIL import Image
im = Image.open("D:\\python\\ch14\\14.1.gif")
im.save("D:\\python\\ch14\\14.4.bmp", "BMP")